Building your own drone starts with planning your budget and purpose—racing, photography, or recreation. Begin by selecting quality components like a carbon fiber frame, appropriately sized brushless motors, and matching propellers. Assemble the frame first, then mount motors and electronic components, ensuring proper wiring and connections. Don’t forget to apply threadlocker to prevent vibration-loosened screws! Finally, test your creation in an open area, making careful adjustments to achieve ideal flight performance. The journey from parts to sky-bound machine awaits!
Key Takeaways
- Select the right components including frame, motors, flight controller, ESCs, and battery based on your intended use.
- Assemble the frame first, mounting motors with threadlocker and ensuring balanced weight distribution.
- Connect electronic components by soldering power connections and installing the flight controller in the center.
- Install propellers with correct orientation and connect everything to your transmitter and receiver system.
- Test your drone in a safe environment and make performance adjustments to PID values for optimal flight.
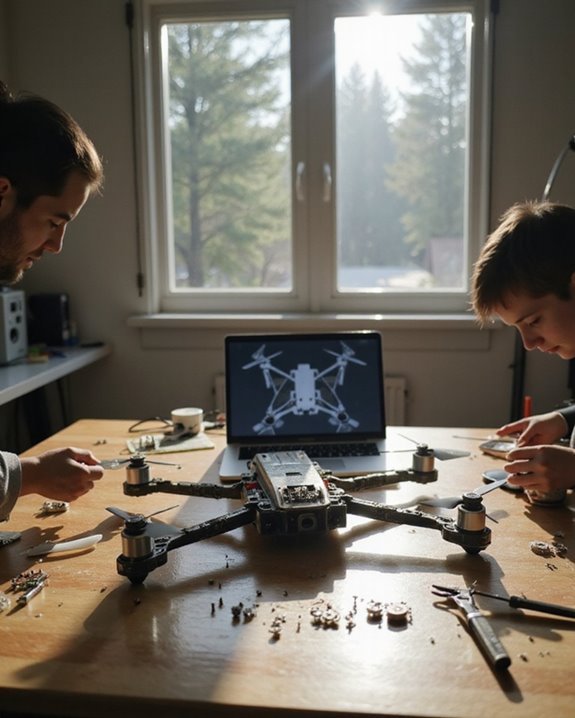
Planning Your Drone Build
Why do some DIY drone projects soar to new heights while others never get off the ground? The difference often lies in thorough planning before purchasing a single part!
Successful builders start with thorough Budget Planning, allocating funds for essential components like motors, flight controllers, and batteries. They determine whether they’re building for photography, racing, or recreation, as each purpose demands different specifications and price points. Smart drone enthusiasts conduct extensive Vendor Research, comparing suppliers for quality, price, and reliability—saving themselves from the heartbreak of incompatible or substandard parts.
Don’t forget to factor in workspace requirements and necessary tools! A well-prepared builder also includes a contingency budget of about 15% for unexpected expenses or upgrades. Remember, in drone building, proper planning prevents poor performance!
Additionally, understanding the flight time range typical of DIY drone kits helps set realistic expectations for your build’s endurance and battery needs.
Frame Assembly and Structural Considerations
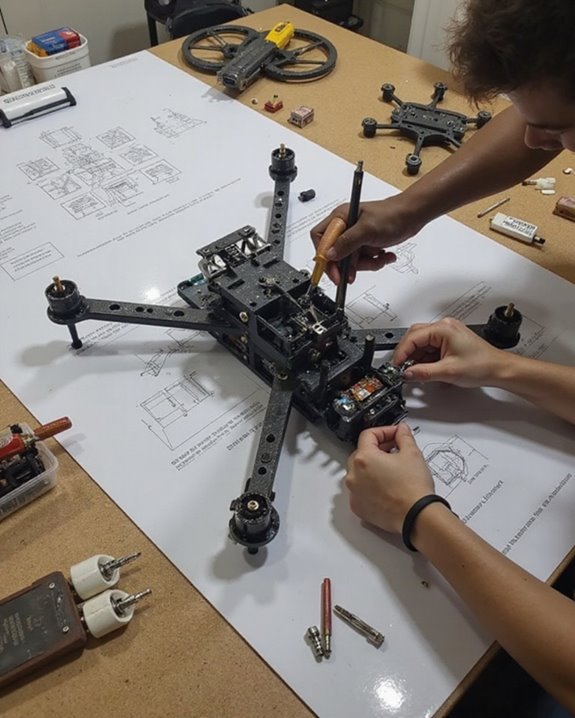
With your plans finalized and parts list in hand, it’s time to focus on the heart of your drone—the frame! Selecting appropriate frame materials is essential for balancing weight and durability. Carbon fiber offers exceptional strength-to-weight ratios, while some builders even use reinforced cardboard for ultralight projects weighing just 98 grams!
When assembling your frame, follow step-by-step guides specific to your design, whether it’s a GEPRC Vapor or a custom laser-cut creation. Don’t forget to apply threadlocker to motor mounts—nothing ruins a flight faster than a motor deciding to make a solo journey! Structural reinforcement through additional arm lock pieces or strategic supports will greatly enhance stability. Remember, a balanced frame with symmetrical weight distribution and a low center of gravity will make your drone handle like a dream in the air. Many modern frames also include pre-threaded brass sleeves which prevent stripped threads and ensure precise accessory attachment.
Motor and Propeller Setup for Optimal Flight
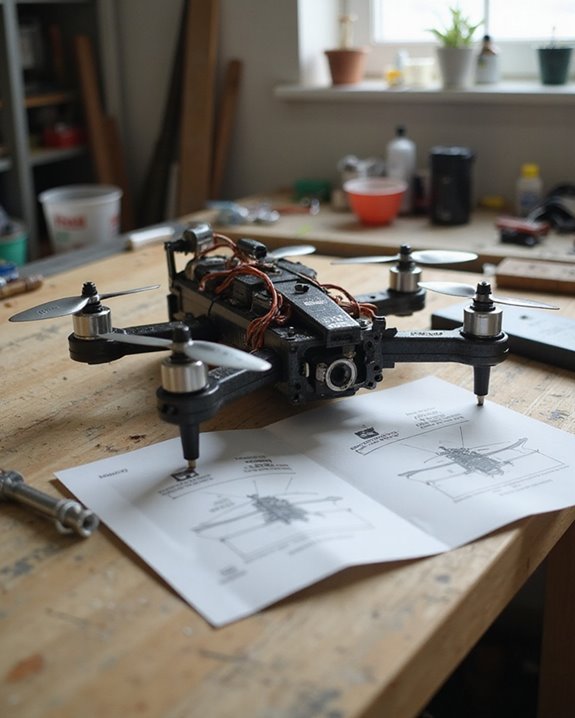
Now that your drone’s frame stands ready, selecting the right motor and propeller combination becomes your essential next step! Brushless motors, identified by their stator dimensions (like 2205), offer superior efficiency and durability for drone applications. When choosing motors, consider the Motor KV rating—higher KVs spin faster but require smaller props, while lower KVs deliver more torque for larger propellers.
Propellers, measured by diameter and Prop Pitch (such as 5×4.5), must match your motor specifications. Remember, higher pitch increases speed but sacrifices stability—a classic drone builder’s dilemma! Always install props in the correct orientation, with the top side facing upward and rotation direction matching the motor spin. Tight but not overtightened prop nuts will keep your drone stable in flight. Your perfect motor-propeller harmony makes all the difference between a sluggish drone and a responsive flyer! Additionally, selecting propellers made from lightweight materials like polycarbonate or ABS composites can maximize your drone’s flight time and responsiveness.
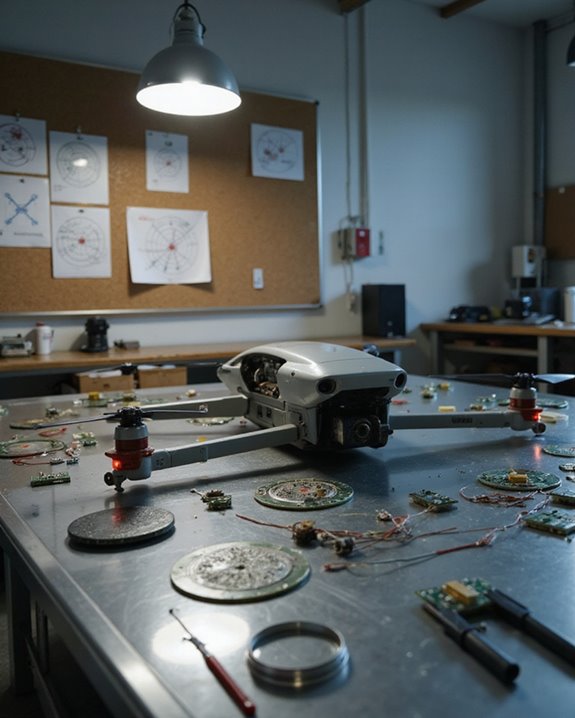
Installing and Connecting Electronic Components
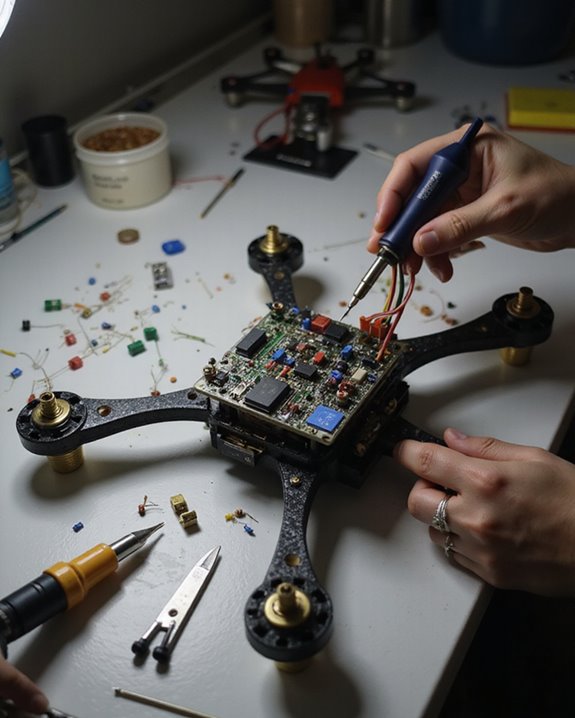
The installation of electronic components represents the heart and soul of your drone-building journey! Careful attention to Power Distribution guarantees your drone functions properly while following Safety Protocols prevents damage to sensitive parts. Begin by soldering XT60 connectors to the power distribution board, which serves as the central hub for all electrical connections.
When mounting the flight controller, secure it firmly to the frame’s center for ideal balance. Connect ESCs to both motors and the PDB, making sure to measure and trim wires to appropriate lengths—no drone enthusiast wants a tangled mess of cables! Use zip ties for neat wire management, improving both airflow and safety. Remember, a well-organized electrical system isn’t just prettier—it’s more reliable and easier to troubleshoot when something inevitably goes awry!
Flight Testing and Performance Adjustments
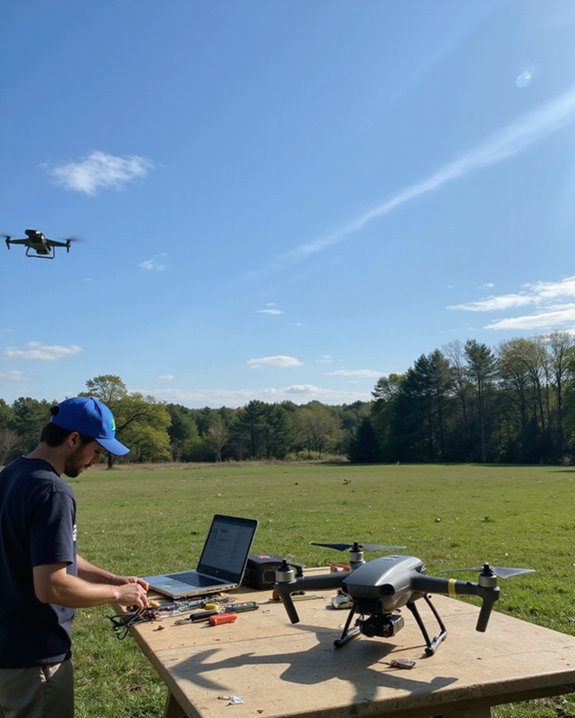
Flight testing represents the thrilling moment of truth where your drone finally takes to the air! Before that exciting first launch, make sure you’ve selected a spacious, obstacle-free environment with proper safety measures in place. A thorough pre-flight check of all systems, including up-to-date firmware and functioning telemetry, will save you from potential heartbreak later.
Once airborne, focus on systematic Endurance Testing to evaluate battery performance and flight time capabilities. Record each flight’s duration and note how different conditions affect stamina. For Altitude Measurement, gradually increase height while monitoring stability and control response. Remember, fine-tuning is an ongoing process! Adjust propeller pitch, calibrate ESCs, and tweak PID values based on performance data. When troubleshooting wobbles or drift issues, check for motor imbalances or weight distribution problems – small adjustments often yield dramatic improvements!
Frequently Asked Questions
How Do I Legally Register My Homemade Drone?
To legally register a homemade drone, individuals must visit FAADroneZone if the device exceeds 0.55 pounds. Registration Laws require a $5 fee, and Legal Compliance includes marking the registration number externally on the drone.
What Weather Conditions Are Safe for Testing a New Drone?
While birds mock the human-made flyers below, safe testing requires wind speeds under 20 mph and temperature ranges between 32°F-104°F. Clear skies with good visibility and no precipitation are also essential conditions.
How Can I Extend My Drone’s Battery Life?
To extend drone battery life, users should consider higher capacity Battery Upgrades designed for their specific model. Energy Conservation techniques include smooth flying, enabling eco modes, and maintaining proper battery calibration, charging, and storage practices.
Are There Waterproofing Techniques for Protecting Drone Electronics?
Waterproofing drone electronics typically involves applying conformal coating to circuit boards and using sealing gaskets around component housings. Silicone and NanoFlowX coatings offer thorough protection against water, dust, and corrosion during flight operations.
What Troubleshooting Steps Help When the Drone Drifts Unexpectedly?
Like a leaf in the wind, unexpected drone drift requires systematic troubleshooting. Operators should first perform Sensor Calibration of IMU and accelerometers, then adjust Flight Tuning parameters and check weight distribution and environmental conditions.